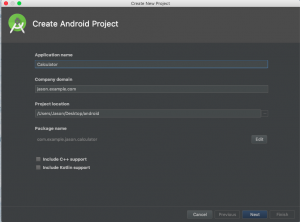
1. Open Android Studio and create a new project.

2. Set the basic information and choose API.

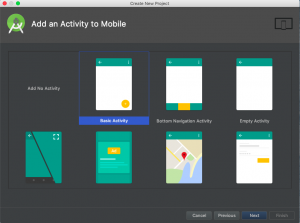
3. Finish basic setting and choose activity platform (Basic Activity Here).
4. See the main page.
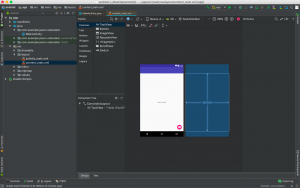
5. Remove some irrelevant code from activity_main.xml.
Click the text button on the bottom of activity_main.xml. Delete FloatingActionButton which will show e-mail button.

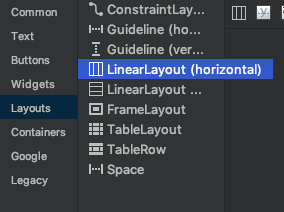
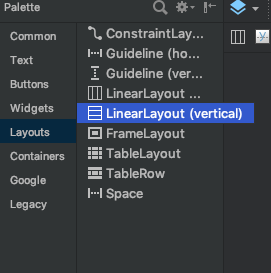
6. Change layout in content_main.xml.
By default, the layout has been set to a Constraint Layout, which allows you to position items relative to other items on the screen and work with dimension constraints. Change that to Linear Layout which stacks elements linearly. This will be simpler to write for our application purpose. In order to do so, replace the android.support.constraint.ConstraintLayout with LinearLayout.
7. Delete text.
Click TextView under Component Tree and delete default "hello world".
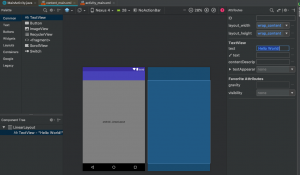
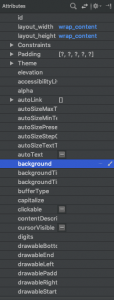
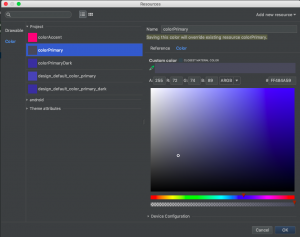
8. Set backgrould color.
Click the background from Component Tree’s attributes.
9. Set new TextView.
Add a new TextView to phone screen, change the ID and text content, and then set layout_width and gravity.
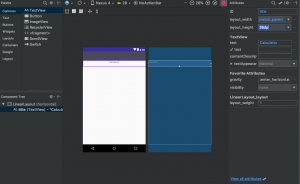
Add two more textview for entering number and set the layout_weight to 0 to show all of them.
10. Set the input type.
Go to Attributes -> InputType -> numberDecimal and check this option, and deselect any other options.

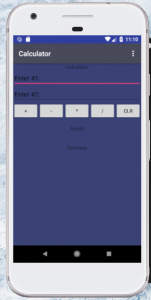
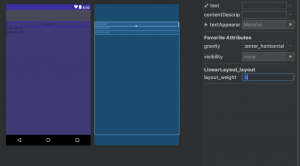
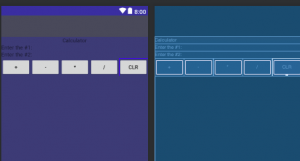
11. Add basic math button.
Insert a LinearLayout Horizontal below the 2 inputs. You might need to set the layout_weight attribute to 0 to ensure all components are displayed. Next drag 5 Button items into the new LinearLayout and the result should look like the below image. And rename them.

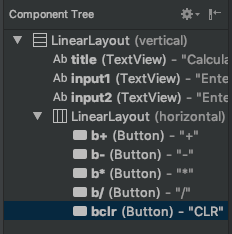
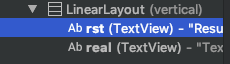
12. Add space to display result.
Add a LinearLayout Vertical below LinearLayout Horizontal. You might need to reduce the height of this LinearLayout to ensure all components are displayed – ensure the layout_weight attribute is set to 0. Next, add two TextView items inside your newly created LinearLayout.
13. Adding the logic.
Open MainActivity.
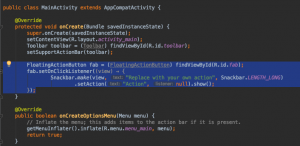
Start by deleting the highlighted code shown below. This code implements the FloatingActionButton you deleted from your activity_main.xml.
When you generated your blank activity, Android Studio created a lot of starter code for you. One of these methods is onCreate method; this method is called when the activity or application starts up. This is what links your Design code or View from your functional code or Controller (setContentView(R.layout.activity_main);).
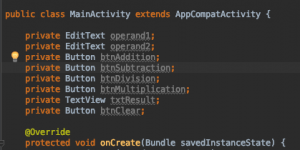
Create the following fields above the onCreate method. These fields are the instances of the objects that help you to control your application’s layout.
If there are any errors like the one below, you can click on the line where error is occurring and use alt+ctrl (option + enter on Mac) to import the necessary library for any of the objects you created.
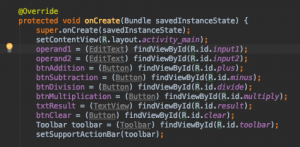
Under setContentView(R.layout.activity_main); add the following lines of code. Each of these lines will link an element from the content_main.xml to one of the fields that you just created above. This is achieved by using the findViewById() function which you can use to look up ids you assigned inside content_main.xml. (Fix: I should use plain text rather than text view for input1 and input2).
14. Set up the listeners.
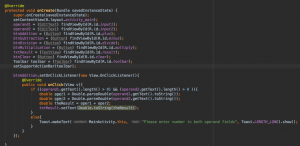
You need to setup the setOnClicker like shown below.
When the button is clicked, the code inside onClick is run which, in this case, takes the input the user has placed in both input1 and input2 TextViews and stores them as doubles. The addition operation is performed, and the result TextView is updated to display the results to the user. Otherwise, if the inputs are not valid, a popup prompting the user to enter a valid input is displayed.
Place the following code at the bottom of the onCreate() method.
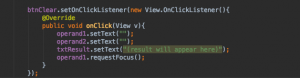
And you can complete the other buttons. By the way the clear button is special:
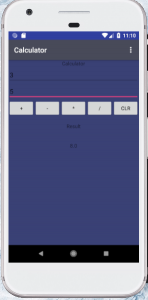
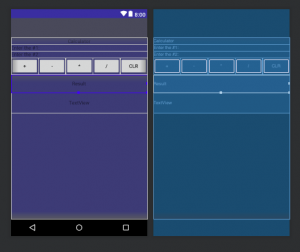
15. Test and Run.
In the upper right hand corner click on the play button.

Choose Launch emulator and click OK to open your Android VM or load your Android device.
After a while loading, you can see the application running on the emulator: